Intro
Samarth deployment comprises three main components:
Databases Deployment
The database deployment for Samarth is divided into two key segments:
eSamwad backend database deployment
The
eSamwad backenddatabase stands as a critical component of theeSamwadapplication. Given its resource-intensive nature, we've taken the approach of isolating its database onto its own dedicated servers. This decision ensures that the backend functions optimally without impacting other services.Cross-cutting services' database deployment (w.r.t Samarth)
Supporting the seamless functioning of the
eSamwad backend, we have a set of cross-cutting services. These services, due to their lightweight and independent nature, their databases are hosted on a separate server. This segregation enhances performance and simplifies maintenance.
Cross-Cutting Services Deployment
Cross-cutting services are self-sufficient and do not rely on Samarth. Below is a list of these independent services.
Overview of Cross-Cutting Services:
ODK-Adapter is an adapter service that parses and sends
odkform responses as SMS via UCI.Primarily utilized for sending important SMS notifications to recipients.
The Doc-Generator is a reusable tool for generating single and bulk documents in various formats.
Its role involves creating comprehensive reports pertaining to student-related data within the
Samarthsystem.
Templater is a REST API service for storing, managing, and rendering templates.
Collaborates closely with the doc-generator service to produce documents adhering to predefined formats.
Yaus is a URL Shortener designed for speed and scalability.
Integration with doc-generator aids in the efficient management of shortened URLs linked to generated documents.
FusionAuth provides authentication and authorization services.
Essential for verifying and permitting access for various entities within the
Samarthecosystem.
ODK Aggregate is used to store, analyze, and present XForm survey data collected using ODK Collect.
Inclusion within the
shiksha-sathiapp facilitates efficient form filling.
Airflow is used for authoring, scheduling, and monitoring workflows.
Responsible for tasks such as refreshing materialized views and scheduling SMSs to students in our
Samarthsystem.
Samarth Services Deployment
These services are central to the functioning of Samarth and have been deployed using Jenkins. We will delve into the deployment process in the upcoming section.
Let's Start
Now that we have a good understanding of the Samarth deployment components, our next step is to examine the repository and its directory structure. Afterward, we will delve into the specifics of the servers, services, and their configuration within the deployment process.
Repo 📦
All the code related to Samarth deployment can be accessed through https://github.com/Samarth-HP/samarth-devops/. This repository encompasses all the essentials required for deploying the Samarth system.
Directory Structure 📃
| Files/Directories |
|---|
| ansible_workspace_dir |
| docker-compose |
| docs |
| hasura |
| jenkins-jobs |
| scripts |
| Jenkinsfile |
ansible_workspace_dir
This directory serves as the working space for
ansible, containing all the necessary roles and services for deployment viaansible.docker-compose
In this directory, you'll find Dockerfiles/docker-compose files for databases/services, both for the
eSamwadbackend and the cross-cutting services, along with some standalone services.docs
The
docsdirectory houses comprehensive documentation pertaining to various aspects of theSamarthdeployment.hasura
This directory holds
Hasurametadata & migrations, a crucial component as we heavily rely on Hasura for certain database operations. See here for how you can apply hasura metadata and migrations.jenkins-jobs
Within this directory, you'll discover Jenkins jobs tailored for
Samarth— both for development and production. Jenkins can directly access these jobs to create pipelines, streamlining the deployment process.scripts
The
scriptsdirectory contains a collection of generic scripts designed to automate various tasks.Jenkinsfile
This file provides a sample
Jenkinsfiletemplate for onboarding new services into the Jenkins pipeline.
This well-organized structure simplifies the management and deployment of Samarth, ensuring a streamlined and efficient DevOps process.
Infrastructure Setup 🏗️
For a comprehensive understanding of the infrastructure we're working with, you can refer to this documentation. It provides insight into the servers and services we're managing.
Application Server Setup
As outlined in the above documentation, we have an application server dedicated to hosting services that can't be deployed using Docker Swarm or require external accessibility. On this server, we've set up the following services:
- Jenkins
- Vault
- Minio
- Sentry
- Posthog
To configure each of these services, follow these steps:
Jenkins
For Jenkins setup, refer to the dedicated documentation available here.
Vault
To set up Vault, follow the instructions provided in this dedicated documentation here.
Minio
Starting the Minio service is straightforward. Simply run the following command:
docker-compose -f /home/samarth-devops/docker-compose/minio-compose.yml up -d
Afterward, configure Minio to work with doc-generator service. You can find detailed guidance in this document.
Sentry
Here is a comprehensive section on how you can setup Sentry.
Posthog
Here is a comprehensive section on how you can setup Posthog.
Setup on db1 Server
Details about the db1 server can be found here. This server houses the persistence layer of the esamwad-backend. To set it up, execute this command:
docker-compose -f /home/samarth-devops/docker-compose/db-compose-esamwad-be.yml up -d
Setup on db2 Server
More information about the db2 server is available here. This server is dedicated to the persistence layer of cross-cutting services. To set it up, use this command:
docker-compose -f /home/samarth-devops/docker-compose/db-compose.yml up -d
Setup on Swarm-Master Server
For setting up Docker Swarm on your master node, refer to this detailed guide here.
Setup on Swarm-Nodes (swarm-node2, swarm-node3)
To configure worker nodes, follow the instructions provided in this guide.
This infrastructure setup ensures that our Samarth deployment environment is ready to host and manage various services effectively.
Configure Jenkins ⚙️
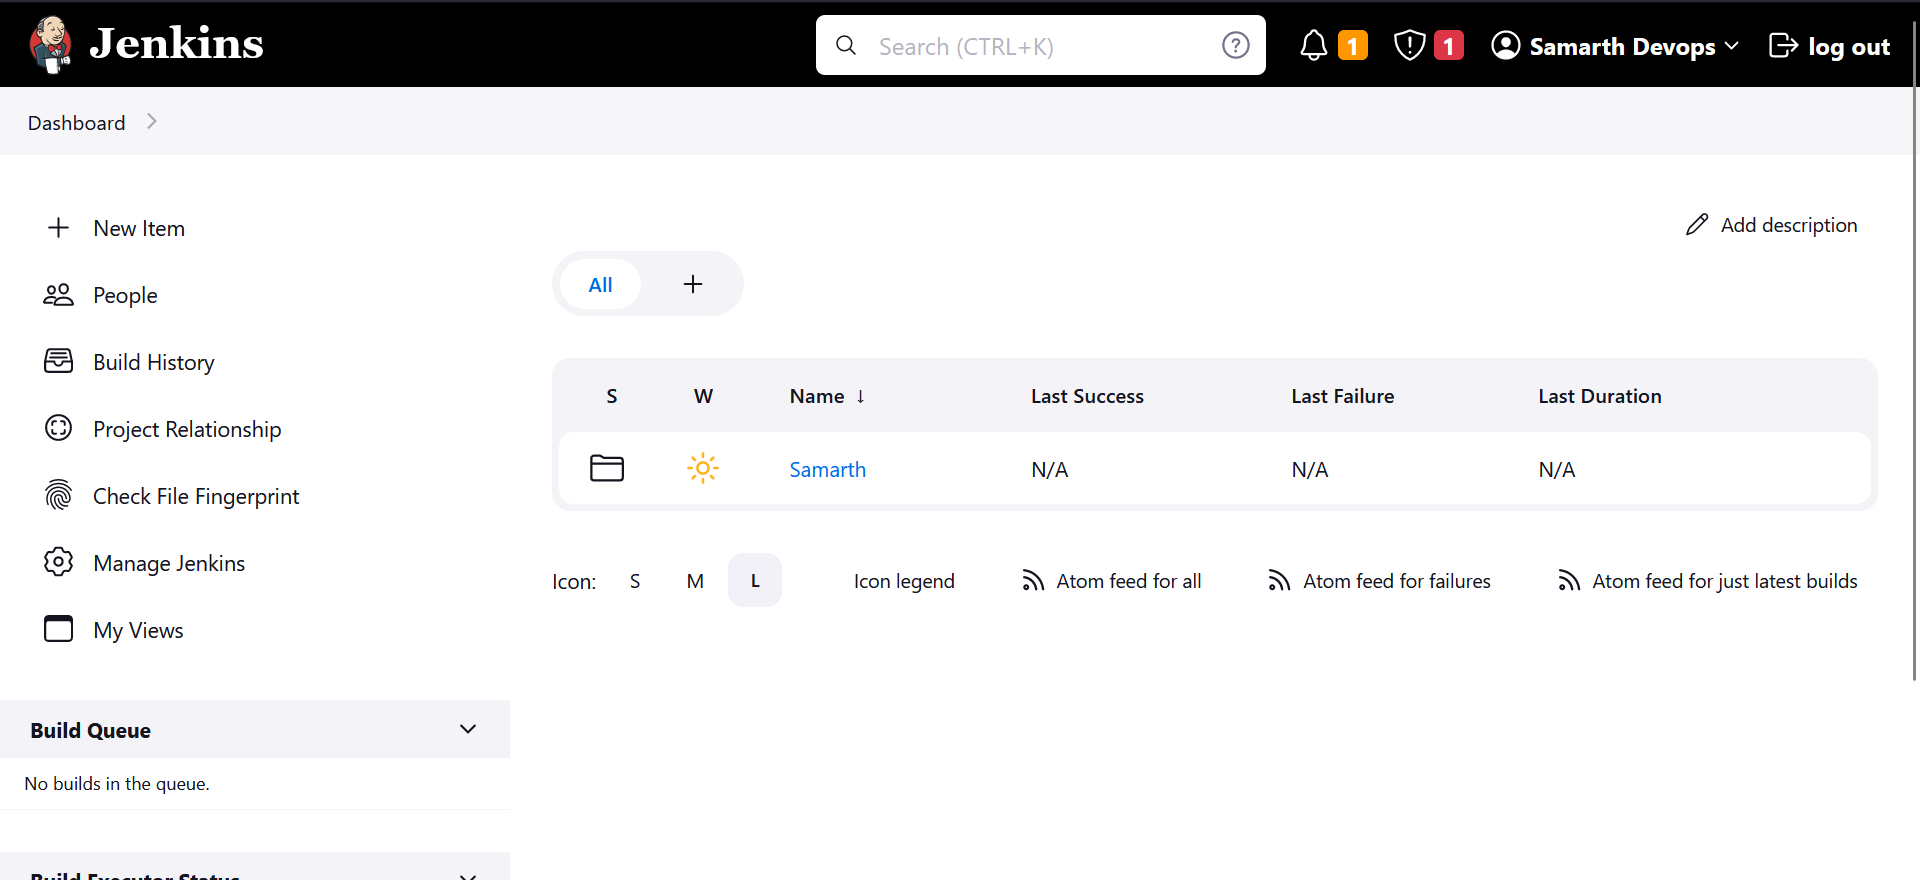
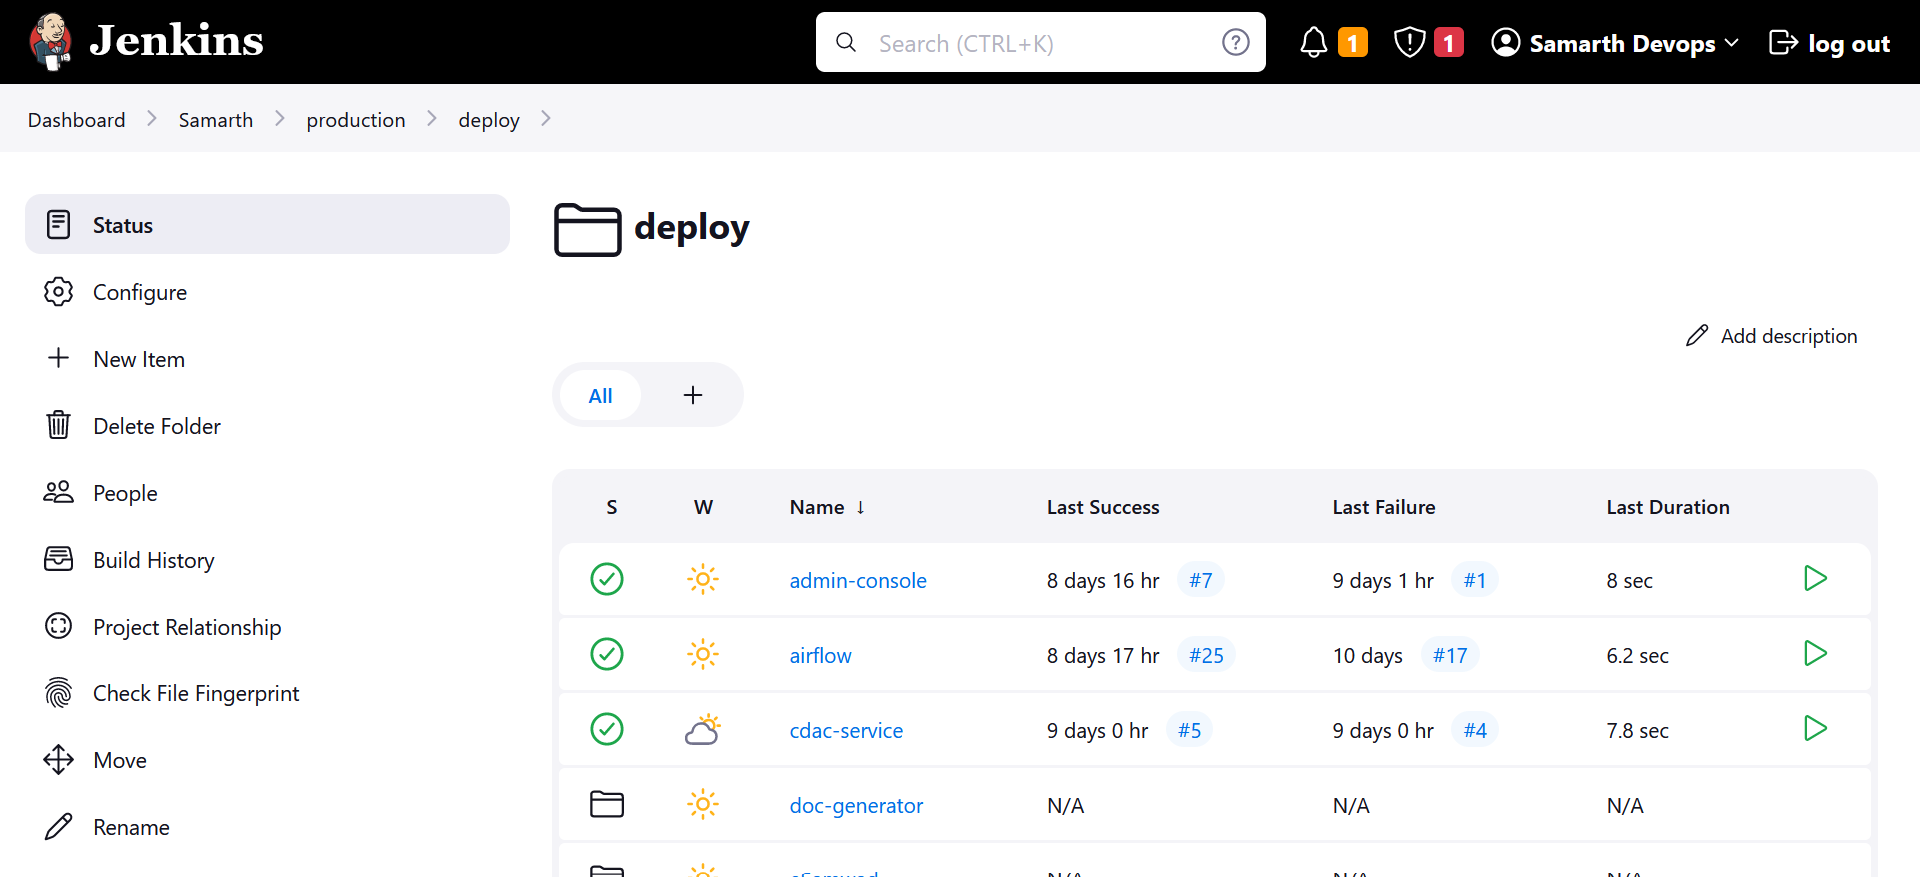
Visit the Jenkins UI to begin the configuration process.
Upon logging in, you will be directed to the Jenkins dashboard, which should look like this:
The following three essential configurations are required:
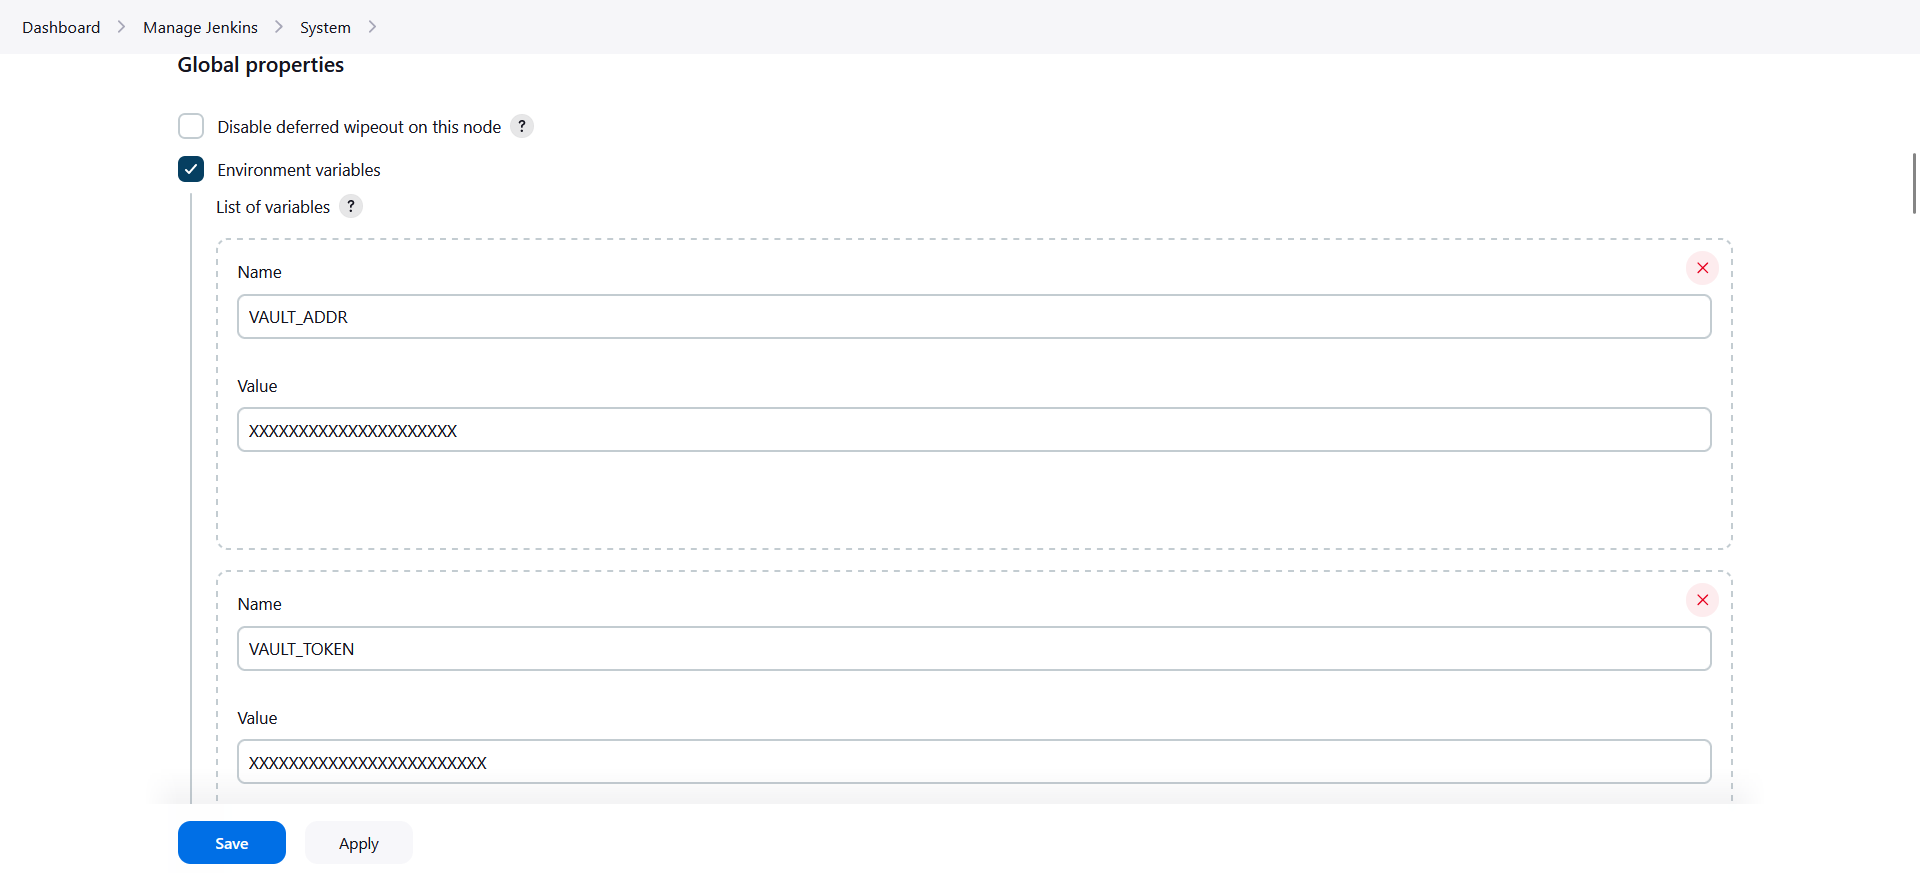
Add
vaultcredentials Set this on global level so that jenkins could pull environment variables from there.- Go to the /manage/configure page.
- Under the "Global properties" section, enable 'Environment variables'.
- Add the following two variables:
- VAULT_ADDR
- VAULT_TOKEN
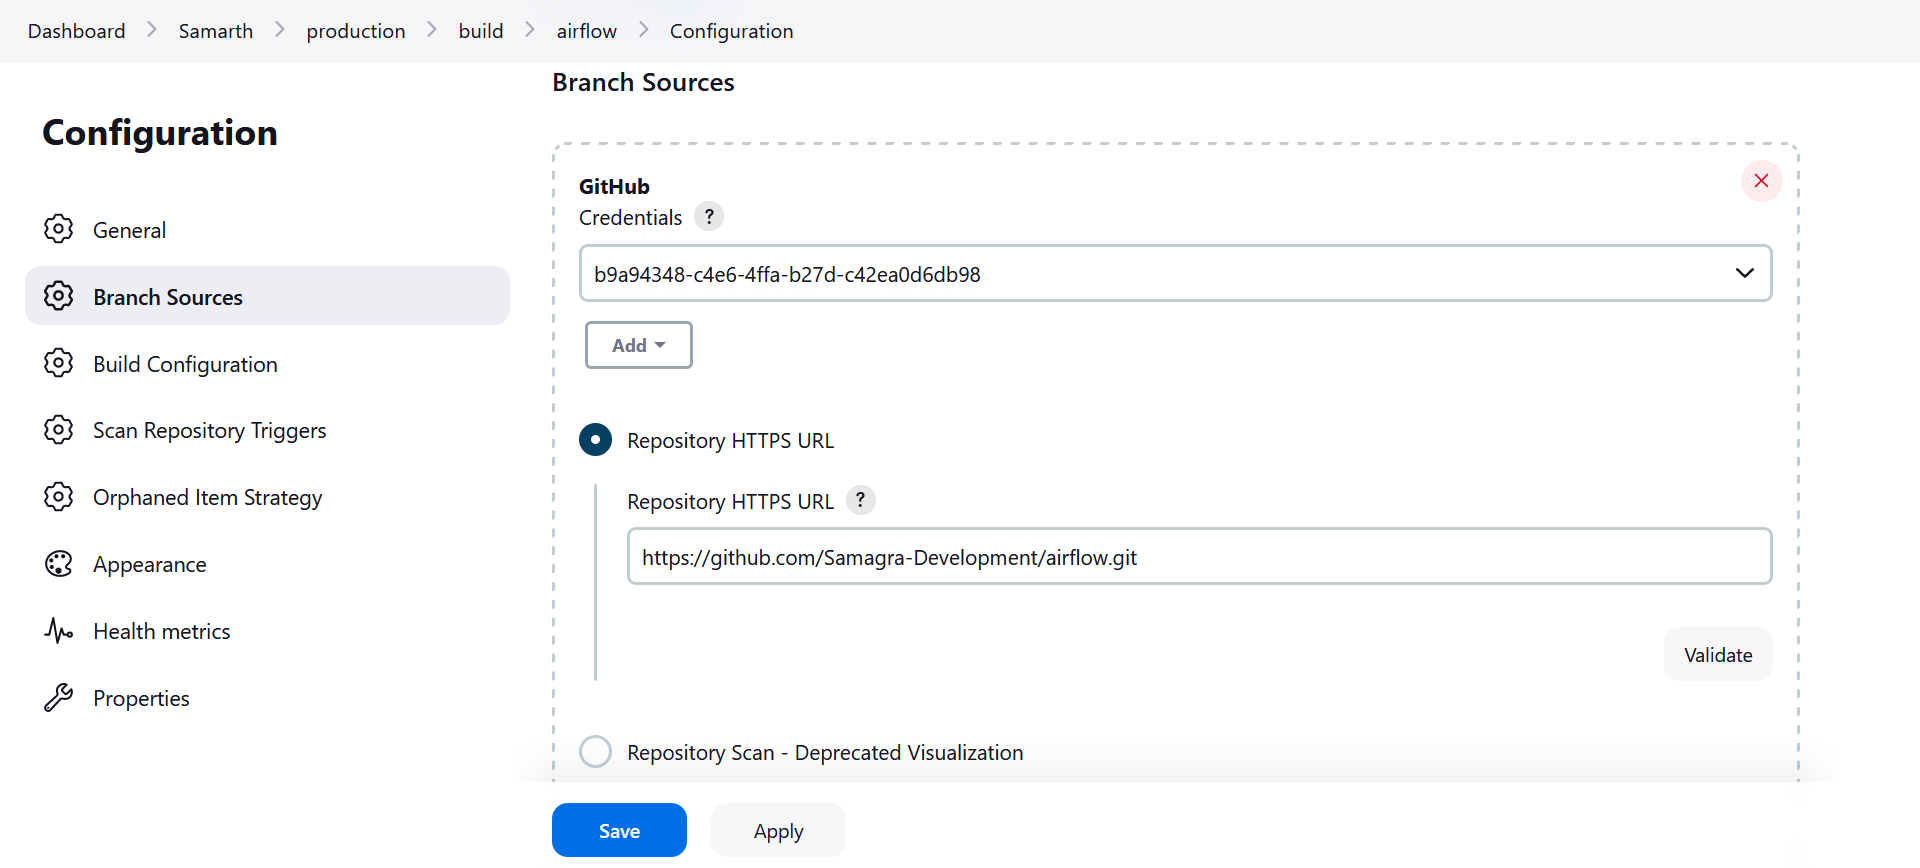
Add
docker registryurl to publish build images.Configure the docker_server variable at the project level (Samarth). This setting allows Jenkins to publish build images to the specified Docker registry.
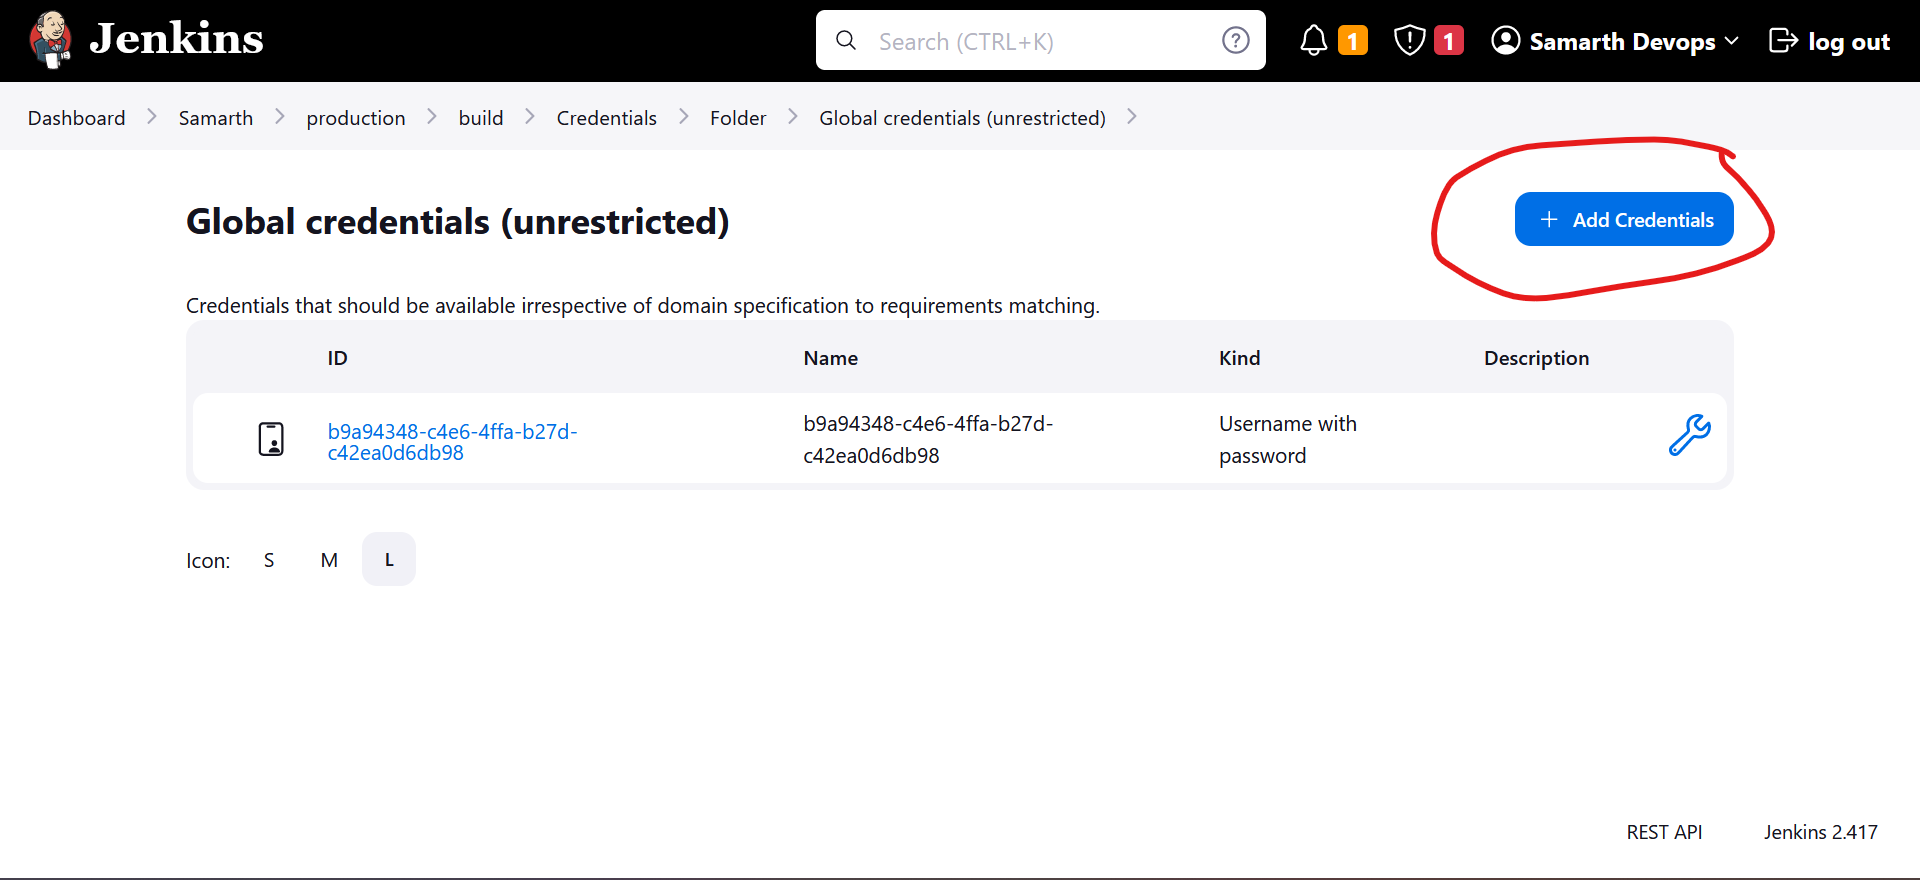
Navigate to the "Credentials" section under the "Samarth" project in the sidebar.
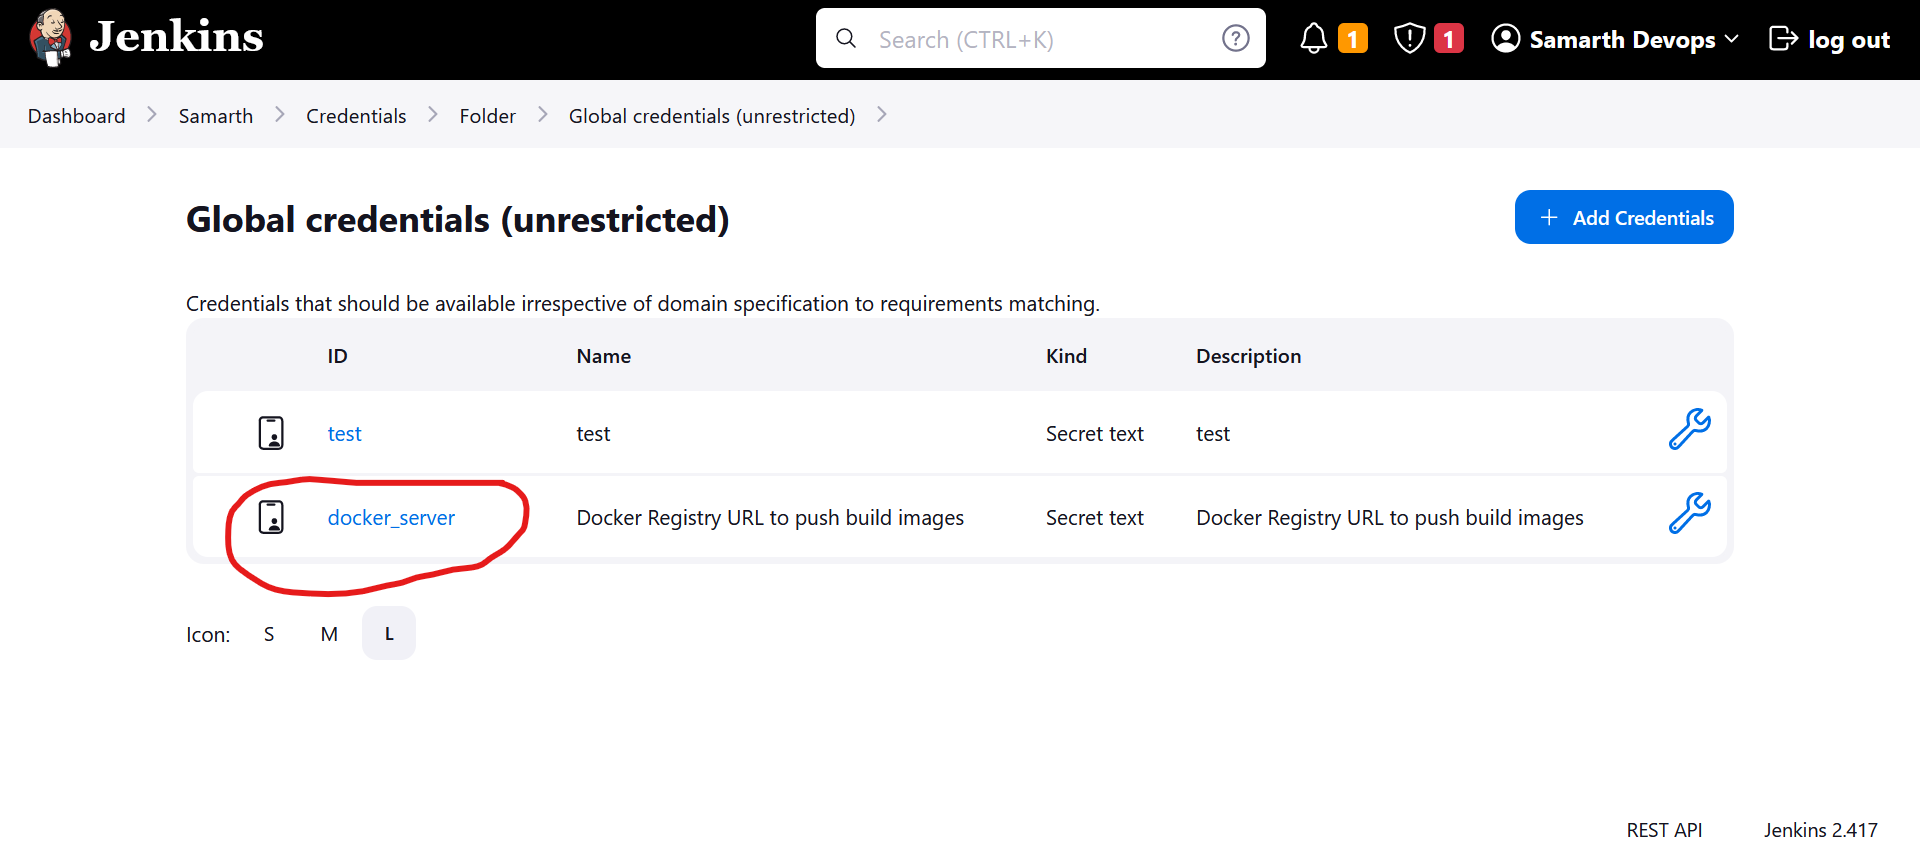
- Add a credential of type Secret text with:
- ID =
docker_server - Secret =
<URL of the private Docker registry>
- ID =
We are setting this at project level because we could have multiple projects and we may want different private repository for different projects.
Add
githubusername and password to the jenkins.Some of our GitHub repositories are private, so Jenkins requires access to them. You need to provide your GitHub username and password for authentication.
Within the "Samarth" project, navigate to the "Credentials" section under "production/build" in the sidebar.
Open the existing credential under "Samarth » production » build" or add a new one:
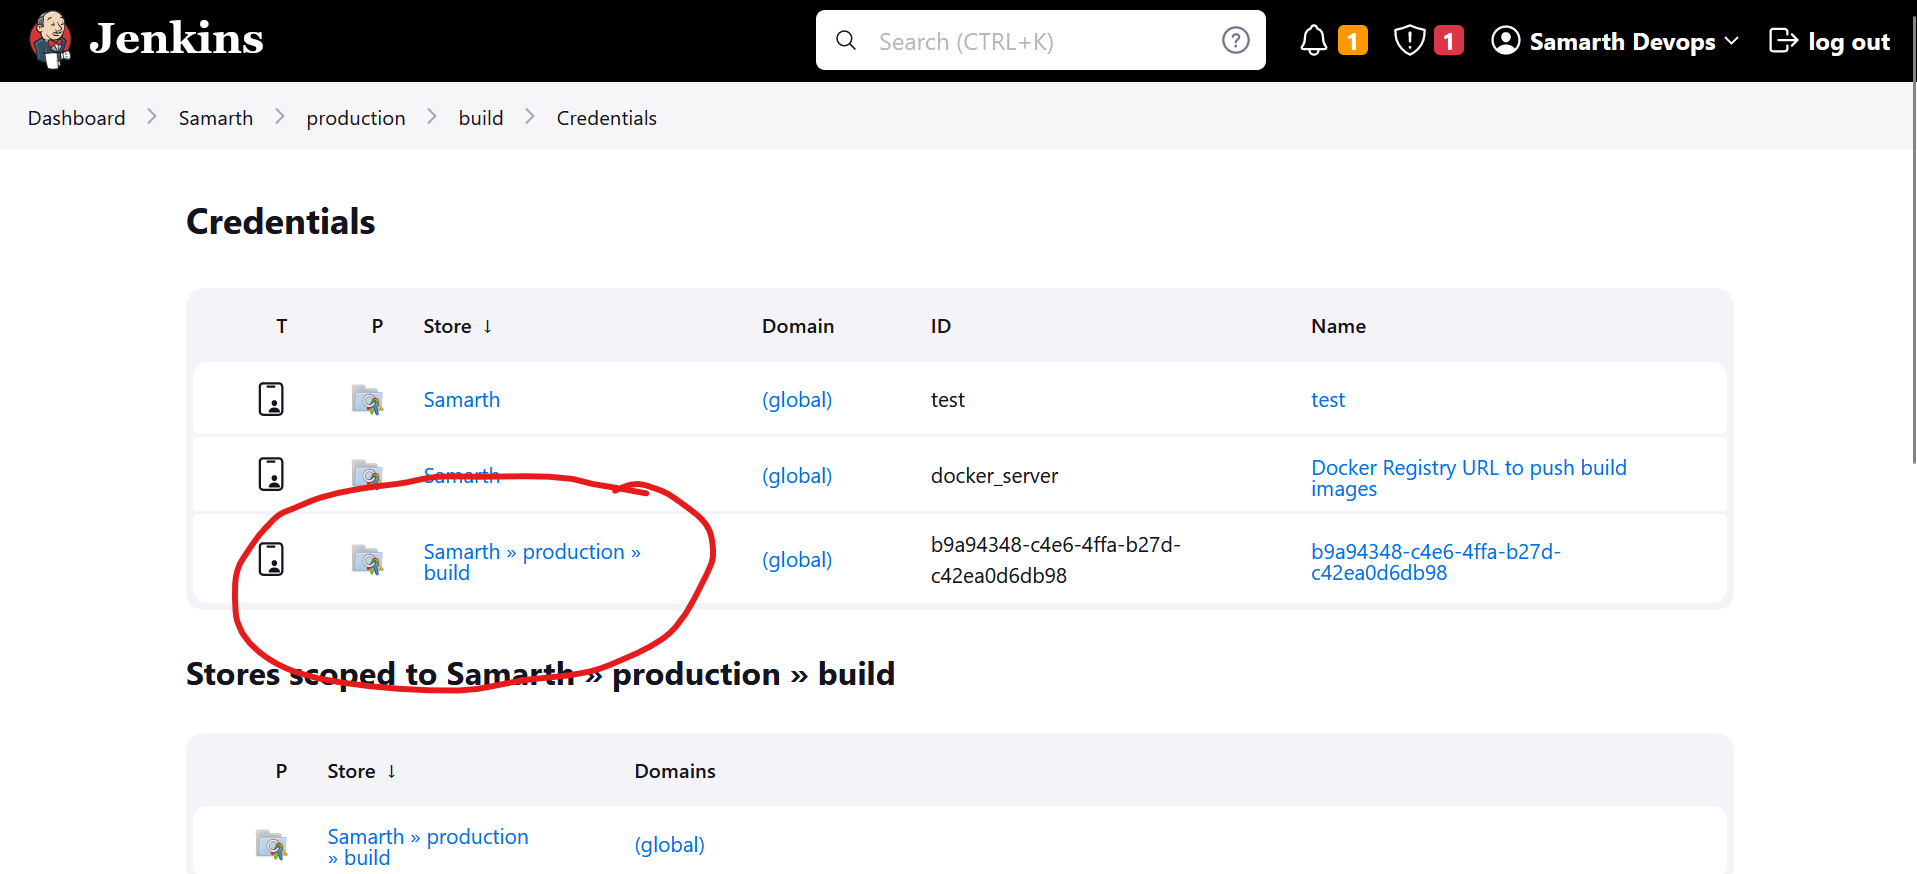
- Then, for each application listed in the "build" folder, select the credential you've just created. This ensures that each application can use the appropriate credential to access the respective GitHub repository.
By completing these configurations, you'll enable Jenkins to operate seamlessly within the Samarth deployment pipeline, ensuring the smooth execution of your projects.
How It Works 🪛
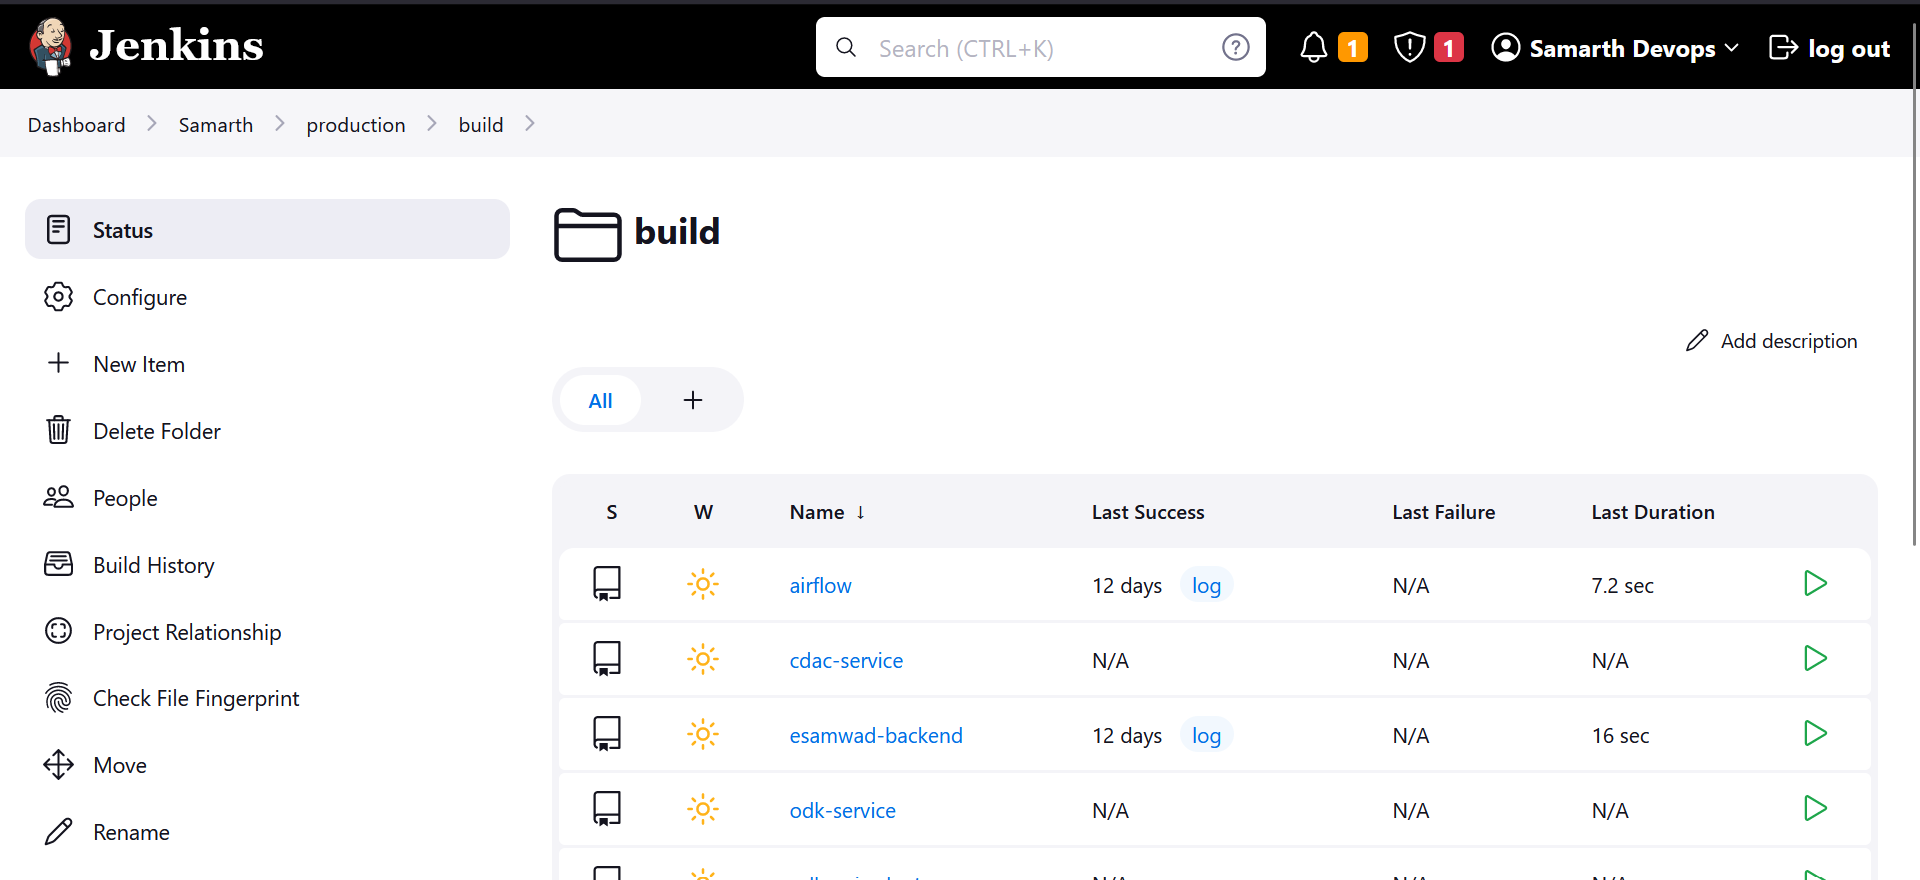
Jenkins automatically loads jobs from /home/samarth-devops/jenkins-jobs.
We have a project named Samarth where we've organized all the jobs.
The pipelines are categorized into two main sections:
- Development (currently not in use)
- Production
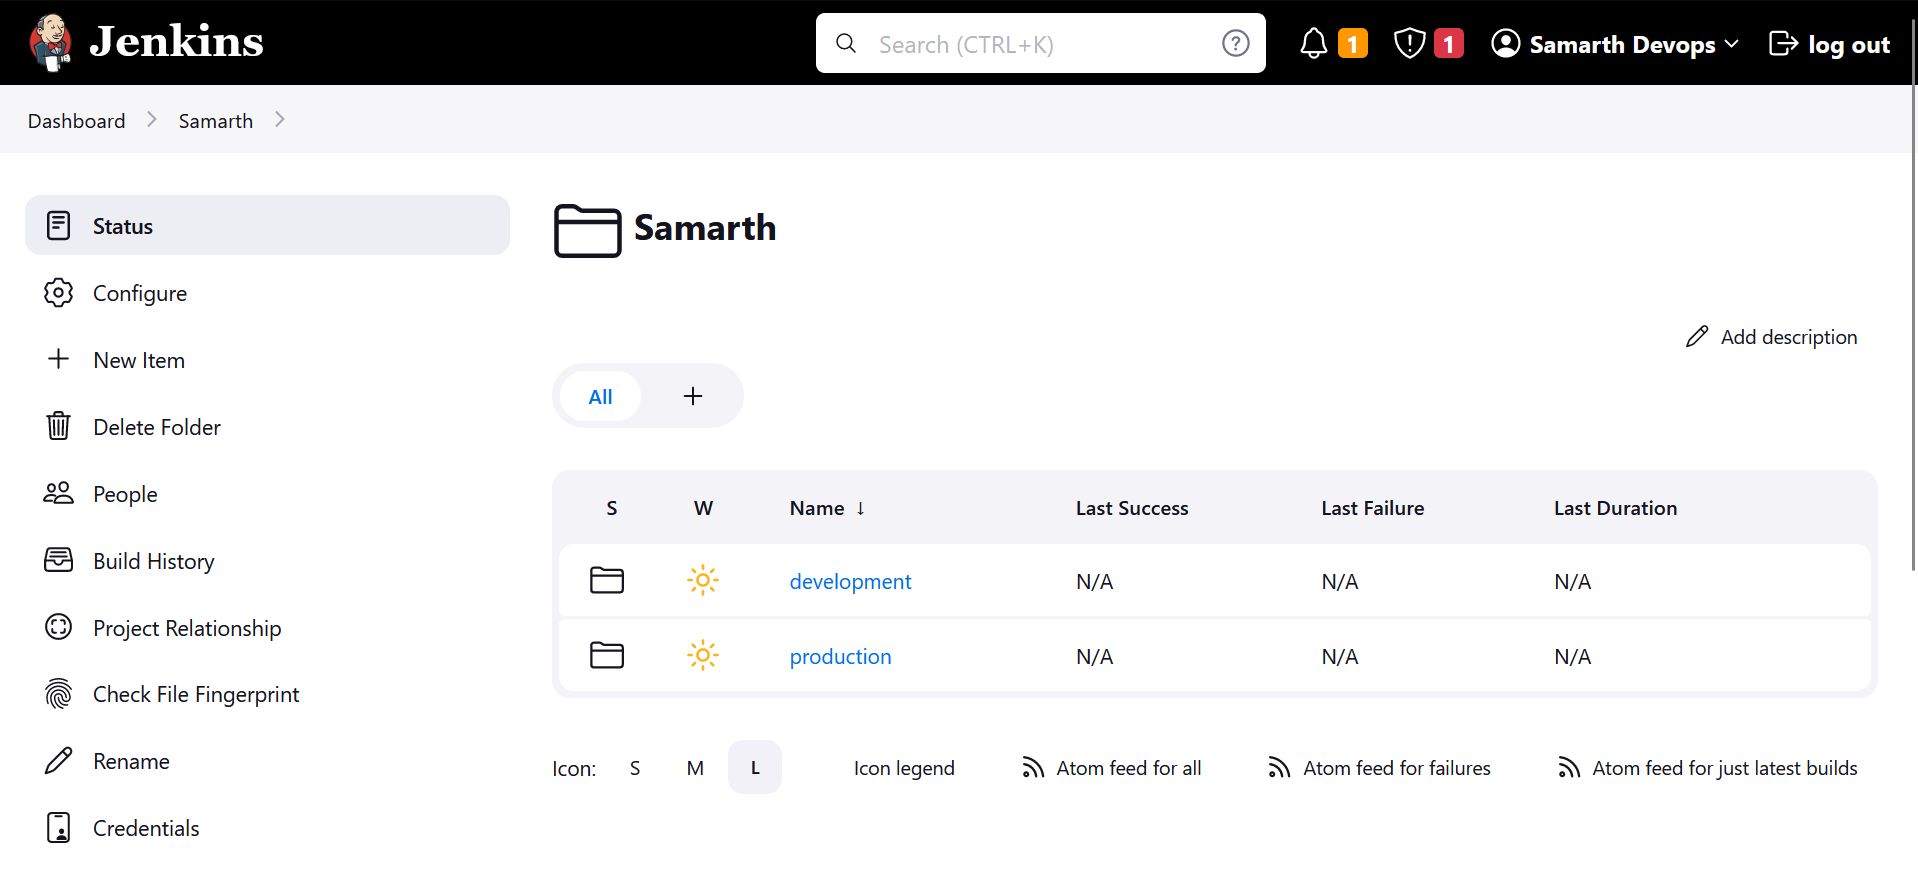
Within the production section, we have two pipelines:
- Build
- Deploy
Under the Build pipeline, you'll find a list of all the applications that can be built.
We use a multi-branch pipeline, which means we can build images from any branch or even from a pull request.

In the Deploy pipeline, you'll see a list of projects that can be deployed. Not all services require a build; some can be directly pulled from Docker Hub and deployed. The deploy pipeline utilizes Ansible roles located in /home/samarth-devops/ansible_workspace_dir.
When you hit the "Run" button, it triggers the corresponding Ansible role, and Ansible takes care of deploying the service on the swarm-master. The swarm-master then manages the deployment across the worker nodes.
Miscellaneous 😖
Here are some additional resources for managing and expanding the Samarth deployment: